Revisiting a Fan Favorite – The Keep-Nut Press-In Self-Anchoring Insert
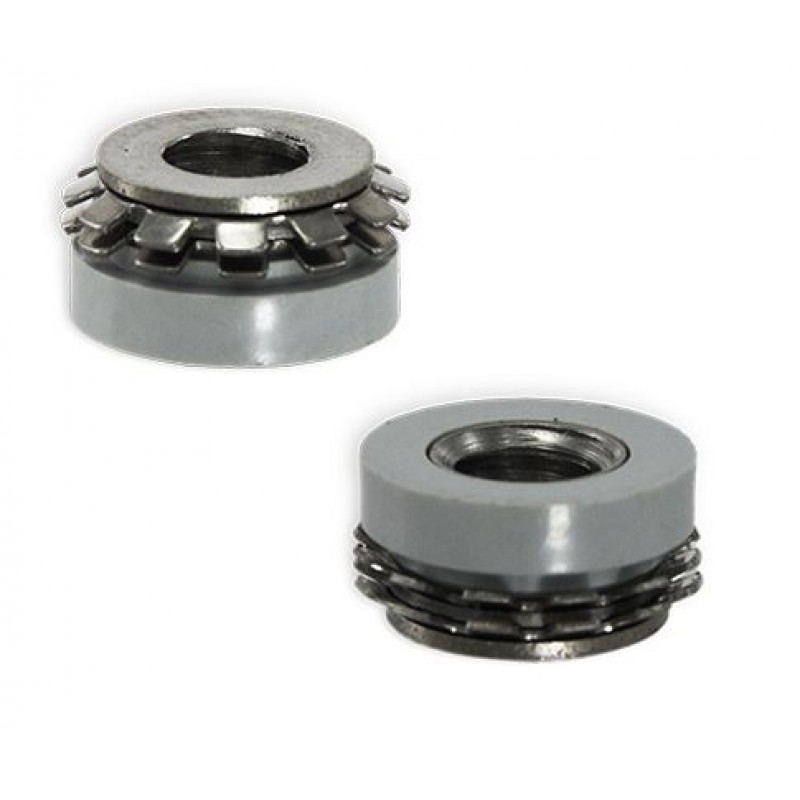
Ideal for securing facades, wall-coverings, under mount sinks, furniture, kitchen and sanitary elements, and much more, the Keep Nut by Specialinsert has gained fame due to its simplicity and strength. The Keep-Nut is an innovative press-in insert that creates a threaded attachment on panels made of granite, marble, glass, composite, and other materials. The mechanical anchors are comprised of stainless steel and feature a threaded bushing with a set of pliable metal spines, complete with a plastic ring that retains the entire mechanism.
In addition to individual Keep-Nut anchors, Chemical Concepts offers several kits and accessories like the Keep-Nut Stater Kit, complete with anchors, Allen posts, sink clips, wing nuts, Star-Washers, a drill bit, a Go-No/Go Gauge, and a setting tool. Some of these pieces are also available separately, like the Go/No Go hole tester, for instance.
Clear Advantages
The Keep-Nut greatly simplifies the process of attaching panels by eliminating several of the tedious tasks associated with surface preparation, gluing, precise mix ratios, or other secondary or traditional methods.
- The cylindrical hole that’s required for Keep-Nut is easily manageable, even for homeowners, and is compatible with standard tools and processes.
- Assembly is as easy as applying direct pressure.
- There is no need for resins or adhesives.
- Assembly is solely internal, without any external dimensions, making the handling and storage of the panels a cinch.
- Keep-Nut’s elastic crowns act radially against the hole, ensuring its security and placement even under pressure, bending, or other forces that would compromise it.
- It may look low profile with its flexible metal spines and plastic ring, but Keep Nut can withstand up to 562 lbs of pressure.

See its strength in action here.
Easy Assembly
The great thing about preparation and installation for the Keep-Nut is that you need not be a carpenter to set the anchor in place properly. There are essentially four basic steps to follow to achieve a strong hold, and contracting expertise isn’t required for any one of them.
- 1. Prepare the hole in the receiving material
- 2. Using the Go/No Go gauge, asses the drill hole size, making sure it lines up correctly. The gauge has reference marks that make this very easy.
- 3. Screw the insert completely onto the threaded mandrel. Use adequate pressure.
The first phase of installation is done – you’re now ready for assembling.
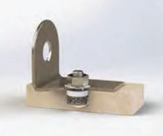
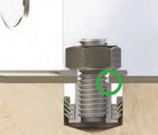
- 4. Structurally fasten and assemble the insert – it’s recommended to screw the pin completely on the thread so that the element is in contact with the internal metal bush of the insert. (see the picture below).
For technical information on installation and assembly, download our Data Sheet & Instructions PDF.
If you need help troubleshooting, you can always contact us for help. We’ll supply you with the right product or tool, but we’ll also walk you through the process of using it correctly. Get a hold of our sales team!
800.220.1966 sales@chemical-concepts.com


