Helpful Hints for Users of 10-to-1 Adhesives
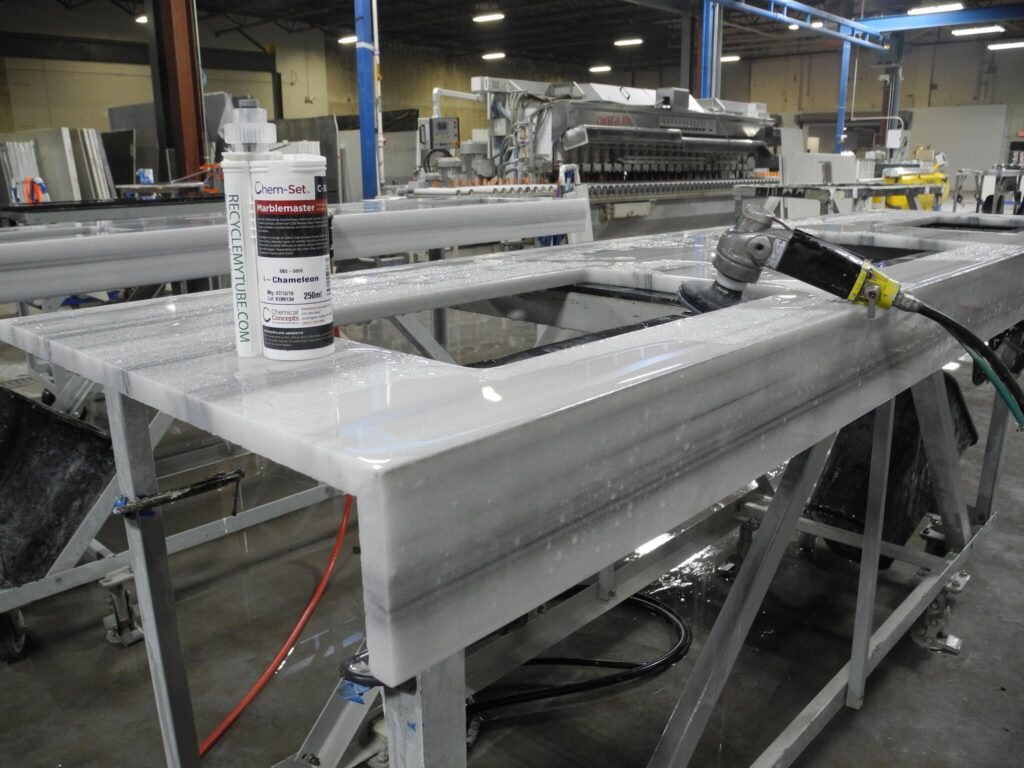
With record-low unemployment and fewer of the younger generations entering the building trades, challenges with the labor force are becoming an ever-present obstacle for managers and business owners to confront. In this environment, it is that much more important to train and retrain your existing workforce to utilize best practices in the shop. When it comes to chemicals, and adhesives in particular, it is absolutely critical to follow the simple guidelines that will minimize your risk of failure. The investment you make on training in this area will yield a very high return. As we all know, adhesive failures in the shop can mean rework, higher costs, overtime, missed deadlines, reputational damage and ultimately dollars missing from your bottom line.
Our technical experts are out at fabrication shops across the country throughout the year and we would love to tell you that over the decades that these adhesives have been in the use, the workforce has adopted these principles and that bad practices are few and far between — unfortunately, this is just not the case. We see the same shortcuts, skipped steps and simple mistakes all too often—even from veteran fabricators!
Use these guidelines below and download the attached training template which will give you a simple way to improve both awareness and accountability within your team.
- STORE cartridges nose up, and at room temperature (75ºF).
The catalyst in the adhesive has a half-life. This means that storing the adhesive at high temperatures leaves only half of the catalyst active and the product won’t harden properly. Storing in cool temperatures will extend the shelf life of the catalyst but will cause the adhesive to thicken. Be sure to bring the adhesive back up to room temperature before dispensing. Finally, do not allow the cartridge to freeze because there may be water added to the adhesive, affecting the viscosity. - ACCLIMATE the cartridge AND the substrates to room temperature (75ºF).
Before fabrication begins, bring both the adhesive AND substrates to room temperature. If the adhesive is at room temperature but the substrates are stored at freezing temperatures the reaction may take much longer without the normal strength or there may be no reaction at all. Conversely, if you are dispensing the adhesive in hotter climates, where the substrate can reach temperatures of 150ºF or more, you might experience a much faster reaction time. - BALANCE the pistons.
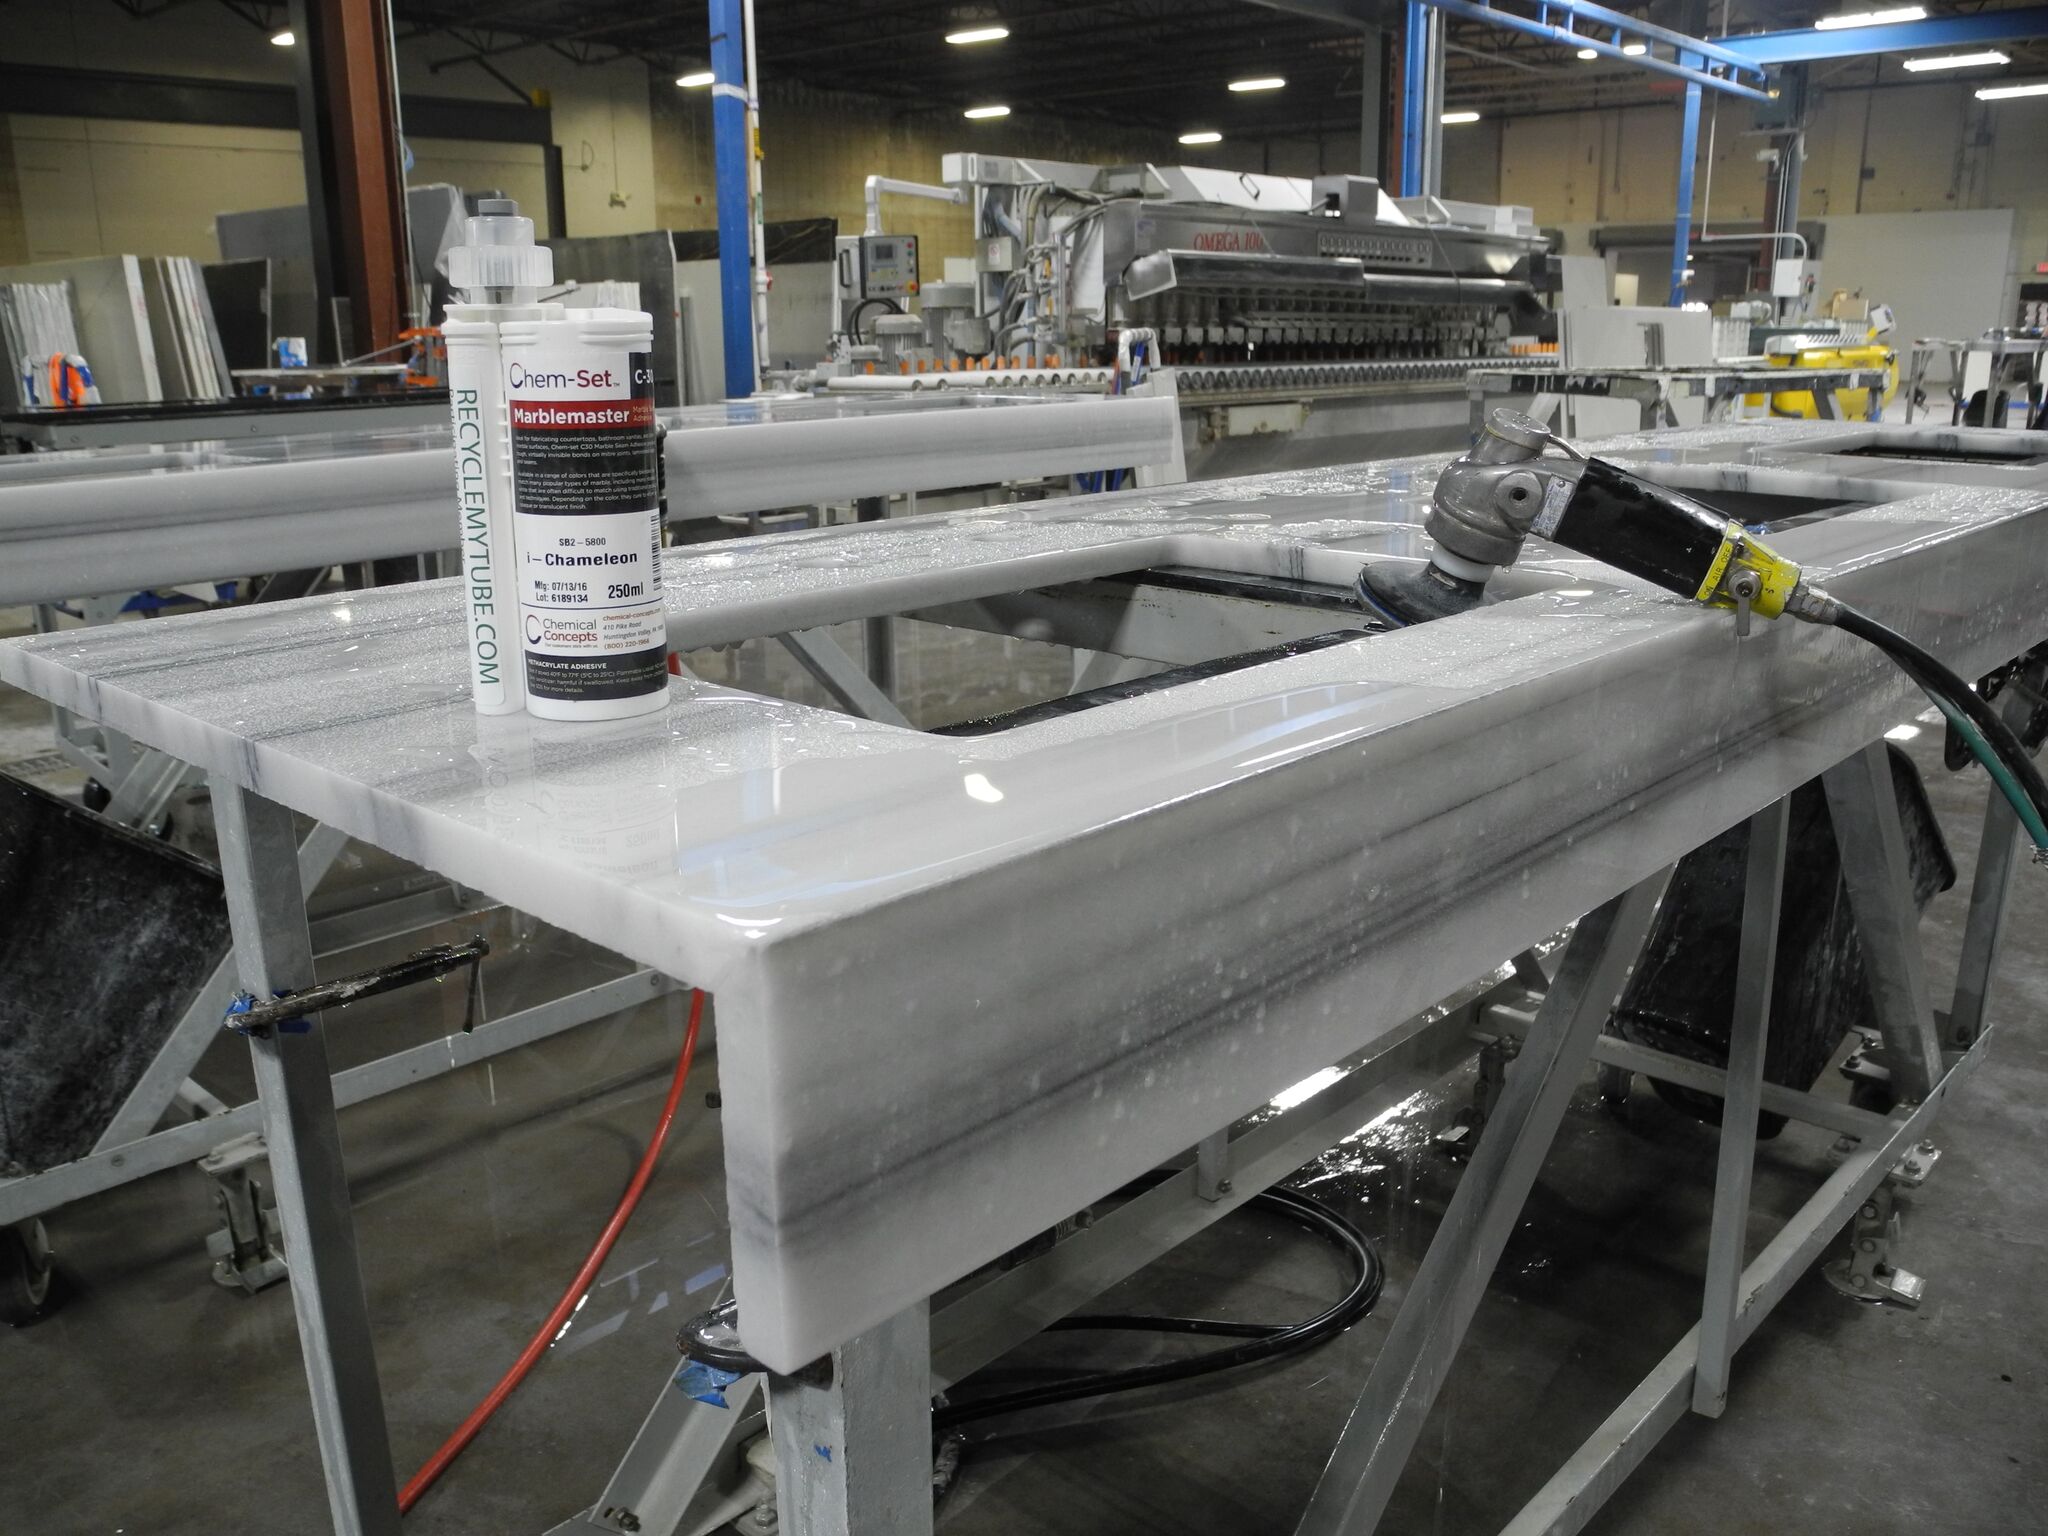
Place the cartridge in a dispensing gun. Turn the cam lock nut ¼ turn to lift the nose plug and remove. Dispense the adhesive into a test container. Wipe the excess adhesive and activator. Attach the static mix tip. Lock the tip onto the cartridge by placing the clear cam lock retaining nut over the tip, and turn the nut ¼” clockwise. Dispense the adhesive into a test container again to ensure even flow through the tip. - DISPENSE a uniform flow to facilitate uniform hardening.
The key to consistent hardening is to dispense the adhesive in a uniform manner. A pneumatic gun/battery gun works best. Manual guns are designed for a pulsating movement and don’t produce as uniform a bead. - DISPENSE two small beads instead of one large bead.
Large beads can contain air bubbles. Air bubbles can lead to sections of the bead having too much activator which may cause an inconsistent cure. To alleviate this problem, dispense the adhesive slowly and uniformly in two smaller beads. Lay one bead over the other instead of dispensing one large bead. Dispensing two small beads is another opportunity to ensure the proper reaction. - DITCH a used tip!
Fabricators will often set aside a dispensing gun to position/re-position or clamp substrates together. In the meantime, the adhesive in the tip begins to cure (OMIT gels). The fabricator then tries to “pop” the cured adhesive out of the tip, and keep working. Don’t risk a blowout of the adhesive past the piston, cracking the cartridge, or uncatalyzed materials in the seam by employing a used tip. Get a new tip! - REMOVE the tip while the adhesive is still liquid and reinsert nose plug when finished.
When finished dispensing the adhesive, remove the tip, wipe off any excess around the nose of the cartridge, and re-install the nose plug. Use the clear plastic cam lock to hold the nose plug in, since you will need it the next time you attach a static mixer tip. DON’T leave the tip on the cartridge, and throw the nose plug away! Over time, the adhesive reacts in the nose of the cartridge, and most issues occur because the nose wasn’t completely cleared before attaching a new mixer. - After use, STORE cartridges in an upright position at room temperature.
Chemical Concepts believes that training and proper implementation of adhesive systems is key to success. Contact us today to find out how our technical experts can help you improve your output, reduce your downtime and avoid costly rework!
Interested in learning more about 10-to-1 adhesives? Our representatives are available to help! Call us toll-free at 1-800-220-1966, or send us an email at sales@chemical-concepts.com. We look forward to hearing from you!

